The EXOSTIV button is normally automatically installed with the EXOSTIV Dashboard.
If you do not have it in the Vivado toolbar, it means that Vivado was installed after the Dashboard and/or something went wrong went automatically updating the toolbar settings.
This will be always the case when you install EXOSTIV Dashboard under Linux, as there is no automatic script run at the end of the installation. Please see below about how to proceed.
You can install the EXOSTIV button into Vivado manually.
>> The procedure below can also be found in ‘Appendix A – EXOSTIV Dashboard installation notes’ from EXOSTIV Dashboard user’s guide (PDF).
1. Start Vivado
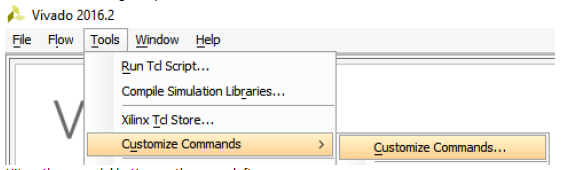
2. Click on the following meny item: Tools > Customize Commands > Customize commands…
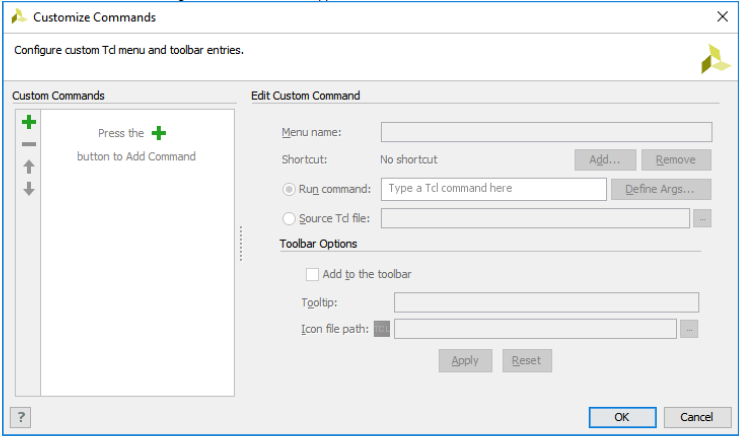
3. Hit on the green ‘+’ button on the upper left corner:
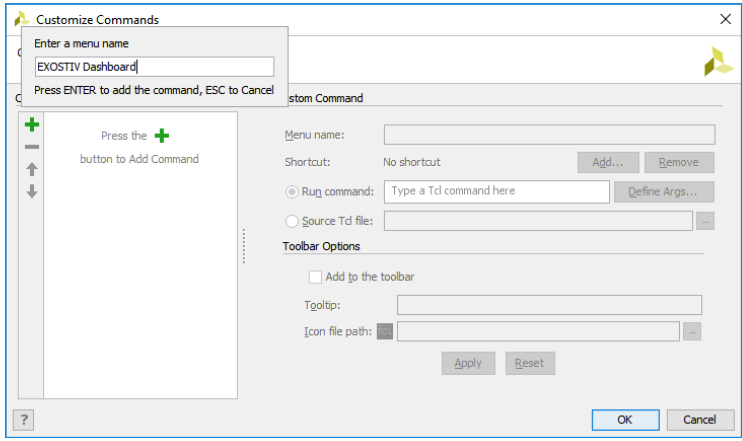
4. Type ‘EXOSTIV Dashboard’ in the dialog that opens. Press ENTER.
5. Enter the following lines in the main dialog window:
– Run command: source “<EXOSTIV Dashboard installation directory>/vivado_server.tcl” -notrace
– Select ‘Add to the toolbar’
– Optionally add the following tooltip: Start EXOSTIV Dashboard
– Icon file path: <EXOSTIV Dashboard installation directory>/Exostiv-icon_32x32.png
Please note:
Whether it is done automatically or manually, adding a custom command in Vivado toolbar appends the file ‘commands.paini’ – or ‘commands.xml’, depending on the version of Vivado.
A bad syntax can lead to Vivado not starting anymore.
In such a case, open ‘commands.paini’ or ‘commands.xml’ with a text editor and remove the entry relative to Exostiv.
Location of the above files (Windows): C:\Users\<user name>\AppData\Roaming\Xilinx\Vivado\<Vivado version>\commands