Search
Run captures with Maestro
This article describes how to run captures from one or more Exostiv IP instances with Maestro. It assumes that Maestro is running and that a Maestro project (.mst file) is set up. To set up a project, see Maestro project setup.
The Run Captures tab
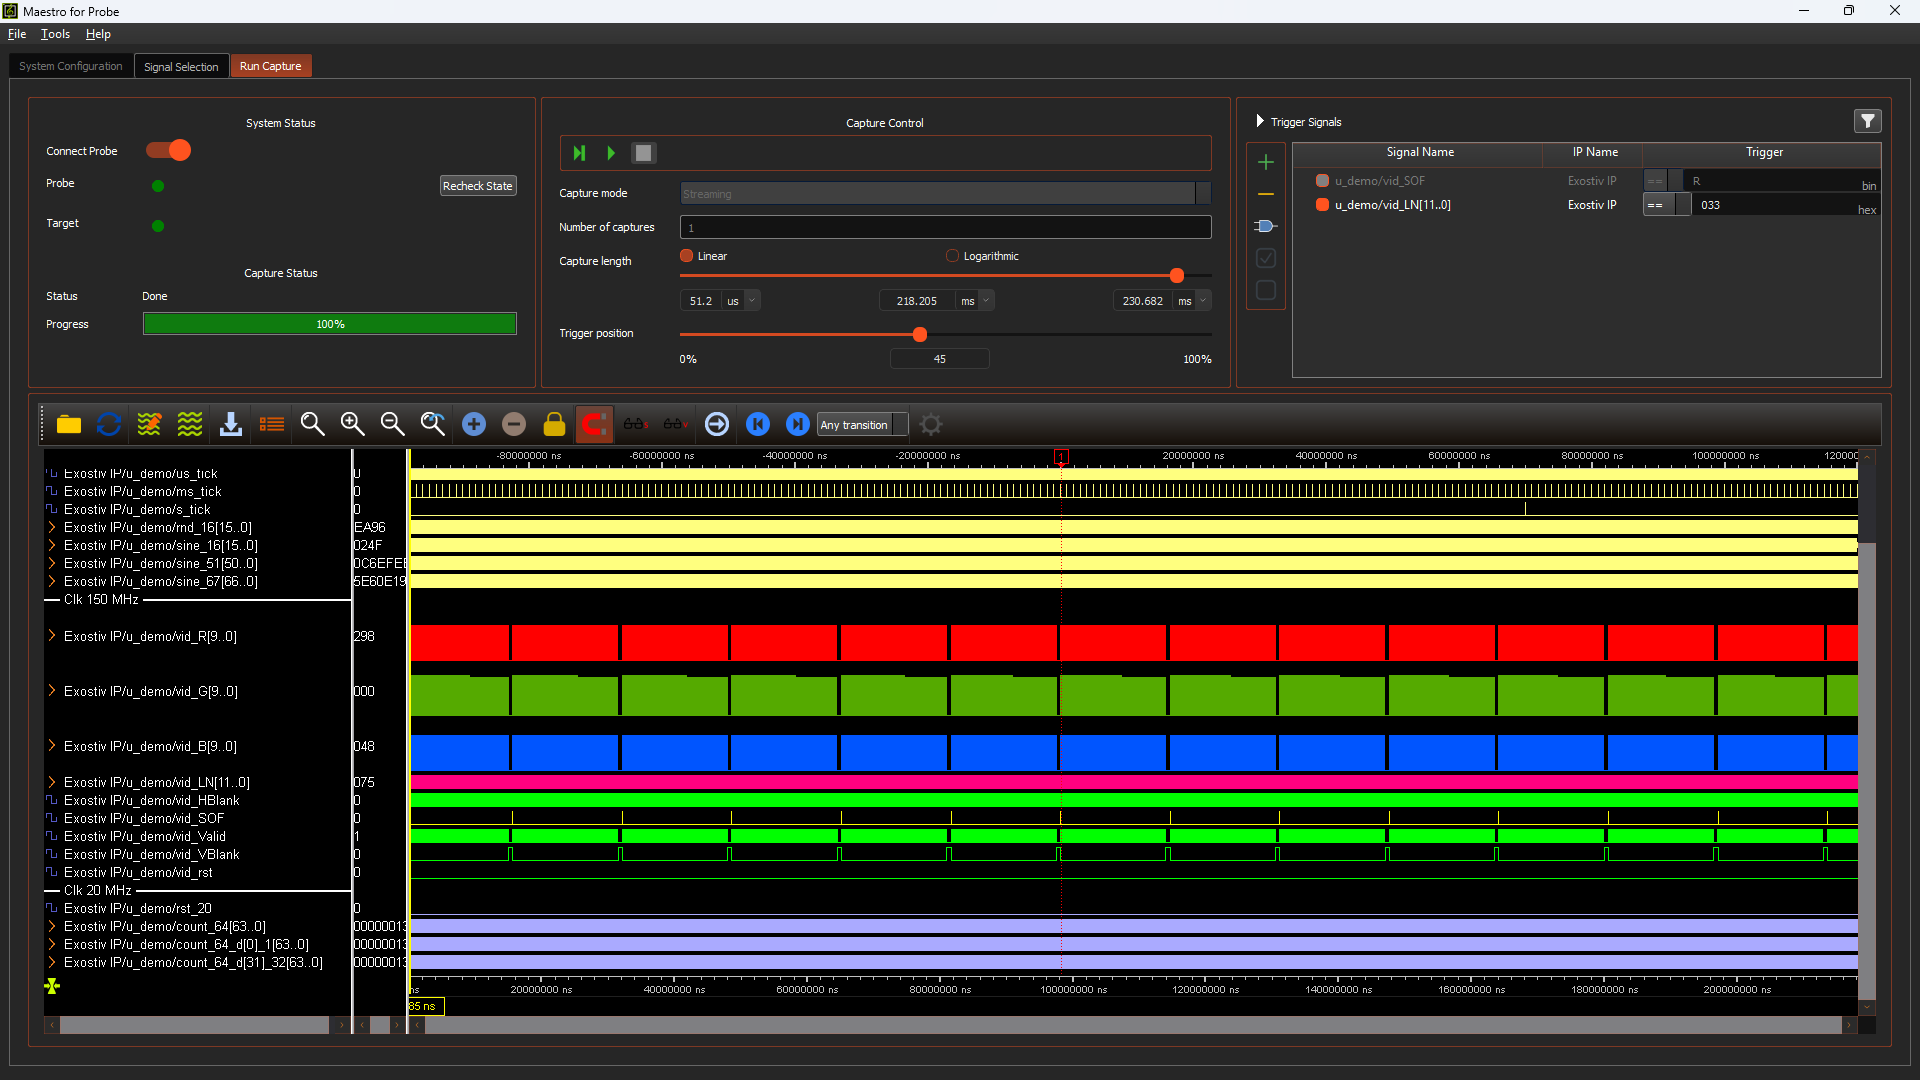
When you first open the Run Captures tab, the window is empty:
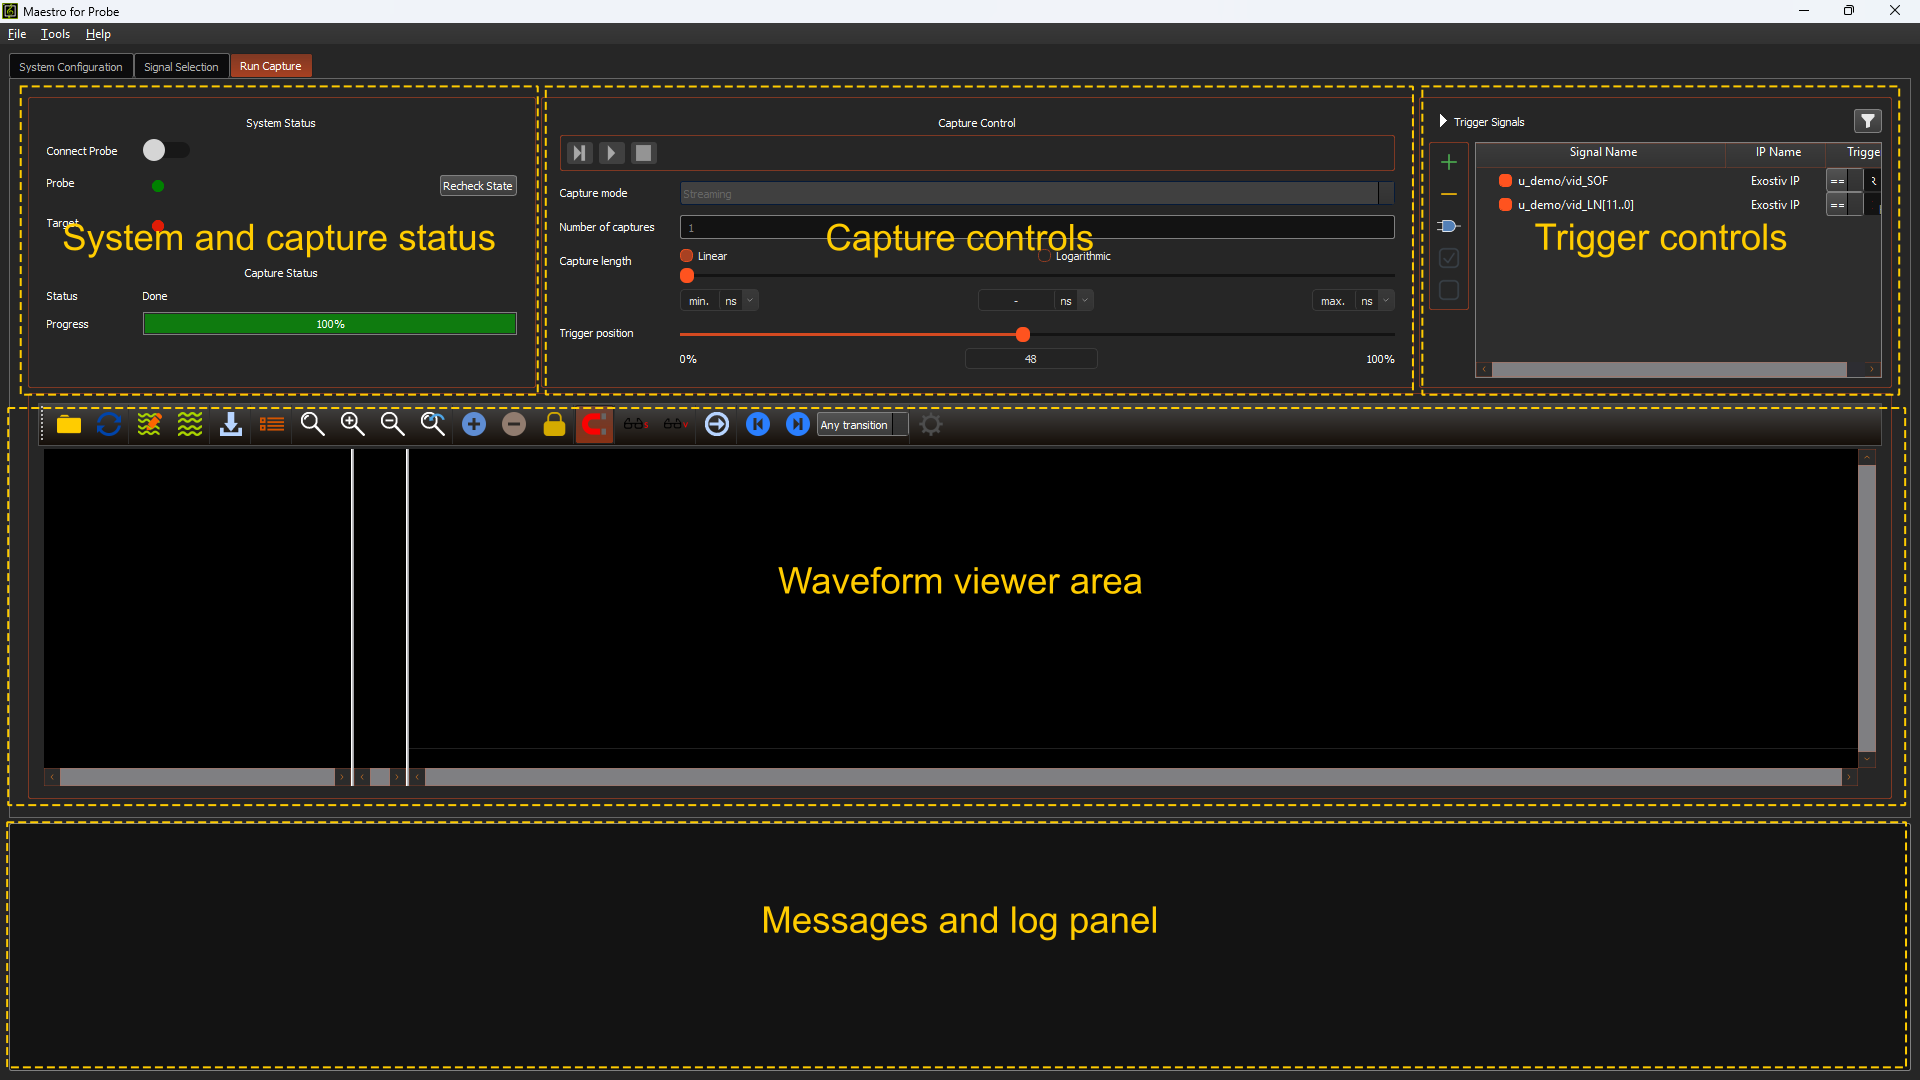
To run a capture with Maestro:
- Connect to the Exostiv Probe or Exostiv Blade.
- Set up the trigger condition.
- Set up the capture length and trigger position.
- Run the capture.
- Analyze the results in the waveform viewer.
Connect to the Exostiv Probe or Exostiv Blade
In the system and capture status area, click the large round ‘Connect Probe’ or ‘Connect Blade’ button.
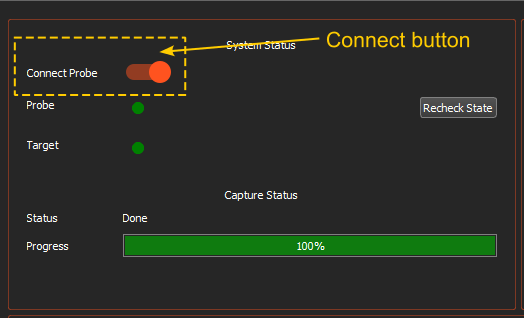
This area shows two status indicators:
- Probe Status or Blade Status: green when the hardware is ready; red when it is not ready.
- Target: green when the Exostiv Probe or Exostiv Blade is connected to the Exostiv IP instances; red when the connection is not established.
Click ‘Recheck State’ to check the hardware status and the connection to the IP instances again.
Set up the trigger condition
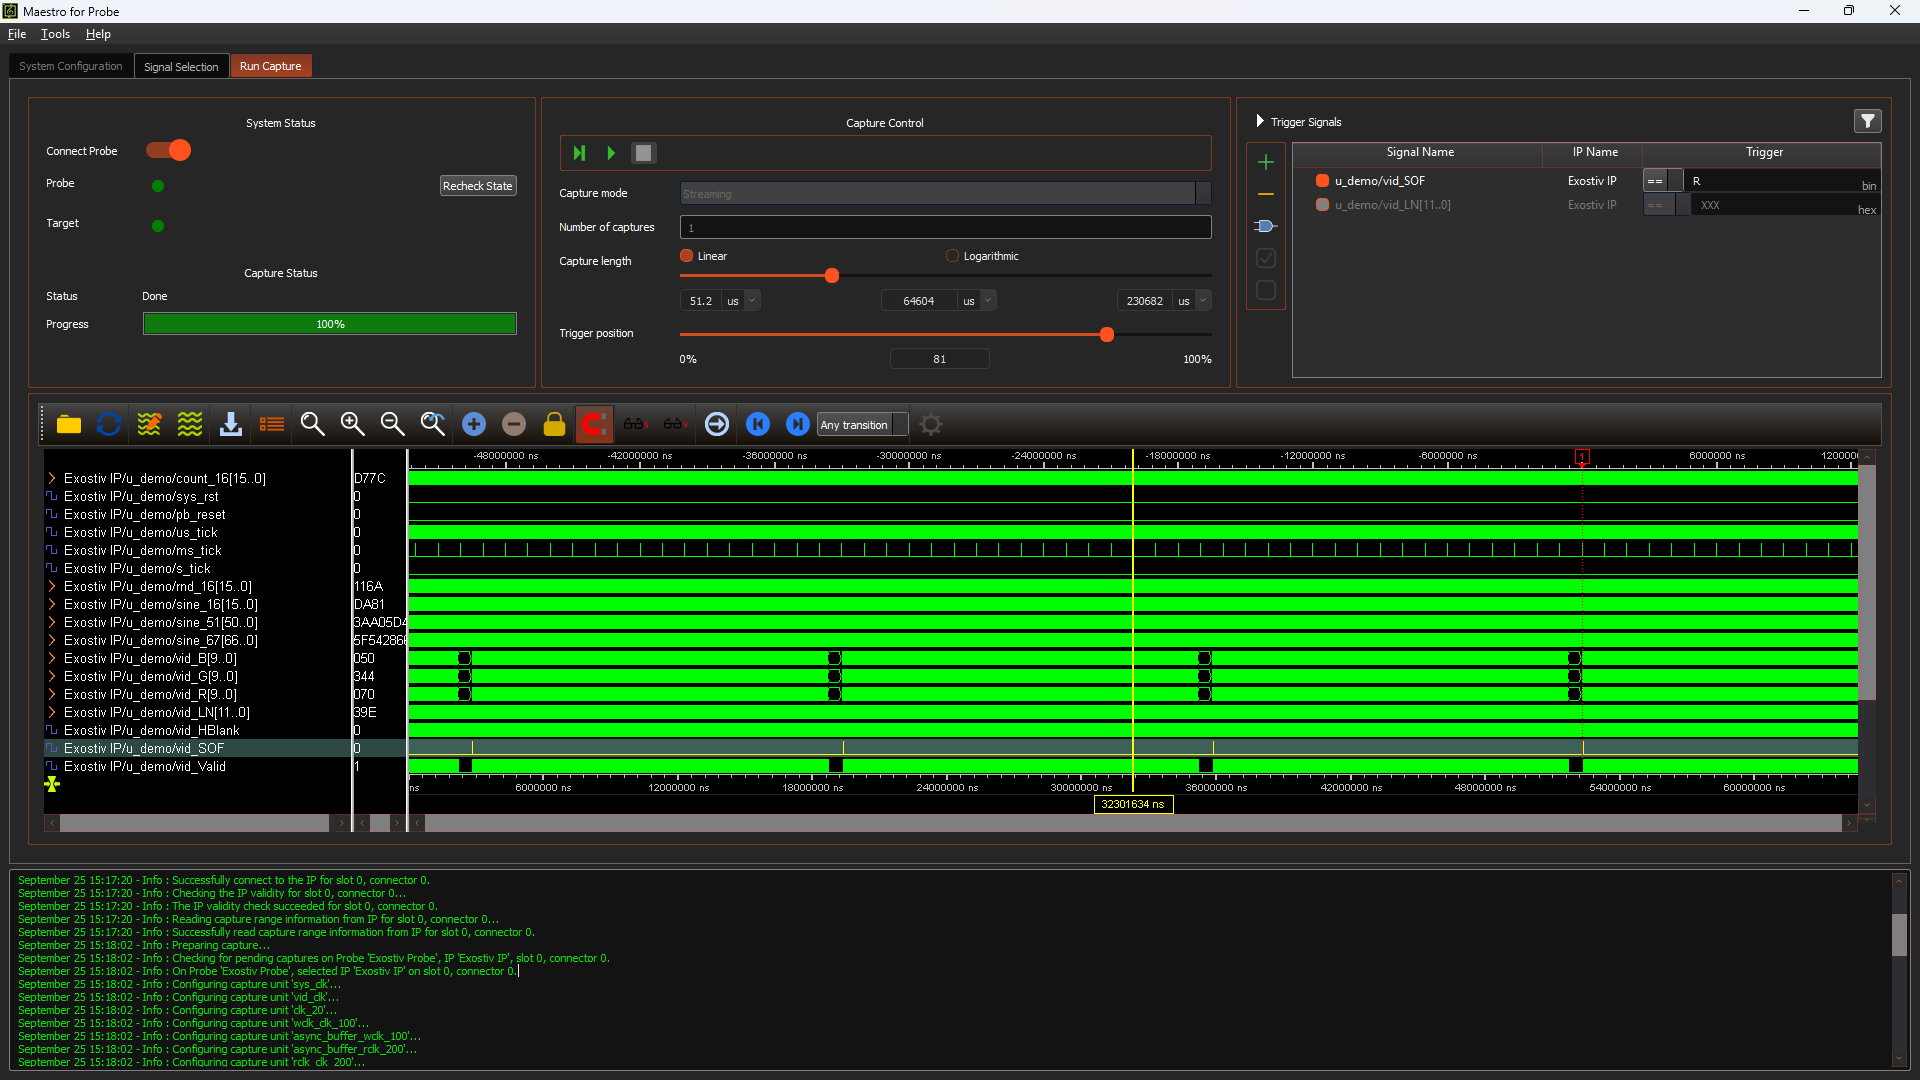
The trigger condition is defined in the trigger controls area, using the signals in the trigger list.
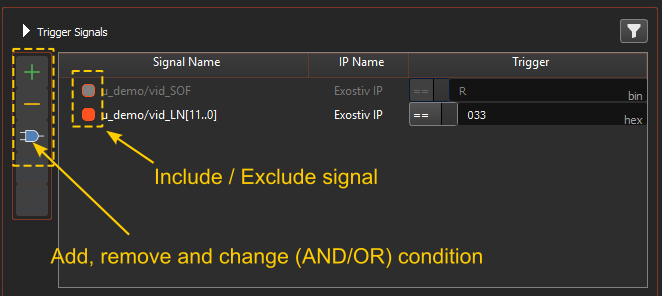
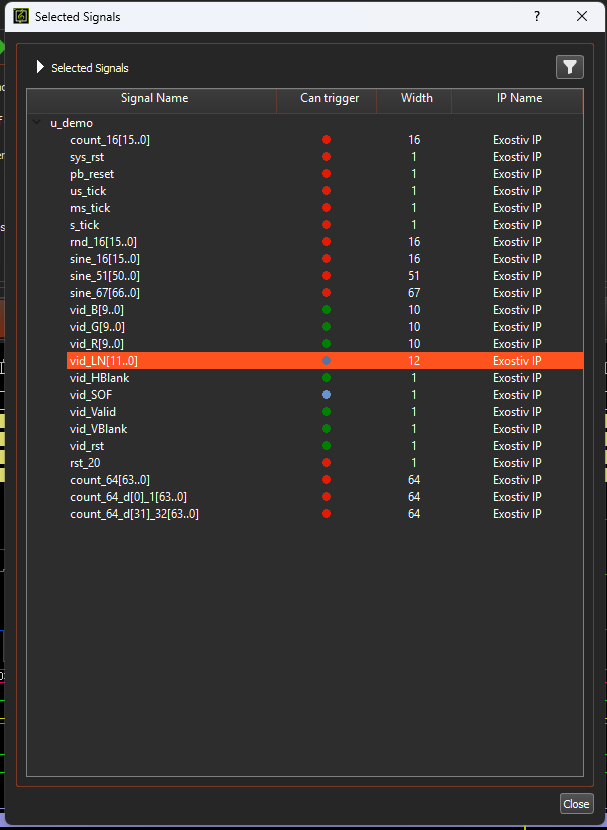
To add a signal, click ‘+’. To remove a signal, select it in the list and click ‘-‘.
To switch between an AND and an OR condition, click the gate button below the ‘-‘ button:
- AND: Maestro triggers when all conditions in the list are met at the same time;
- OR: Maestro triggers when at least one condition in the list is met.
To exclude a signal from the trigger condition without removing it from the list, click the button next to the signal. Excluded signals are shown in grey. Click the button again to include the signal.
Set up the capture length and trigger position
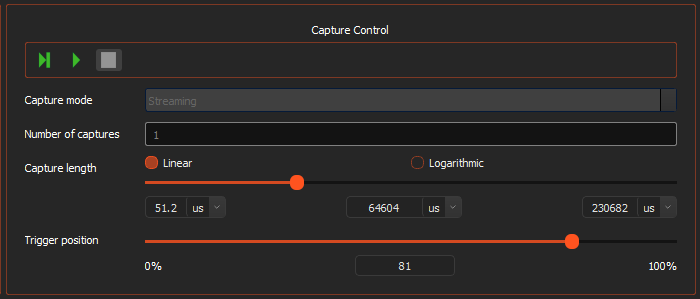
The capture mode is currently fixed to streaming, and the number of captures to 1.
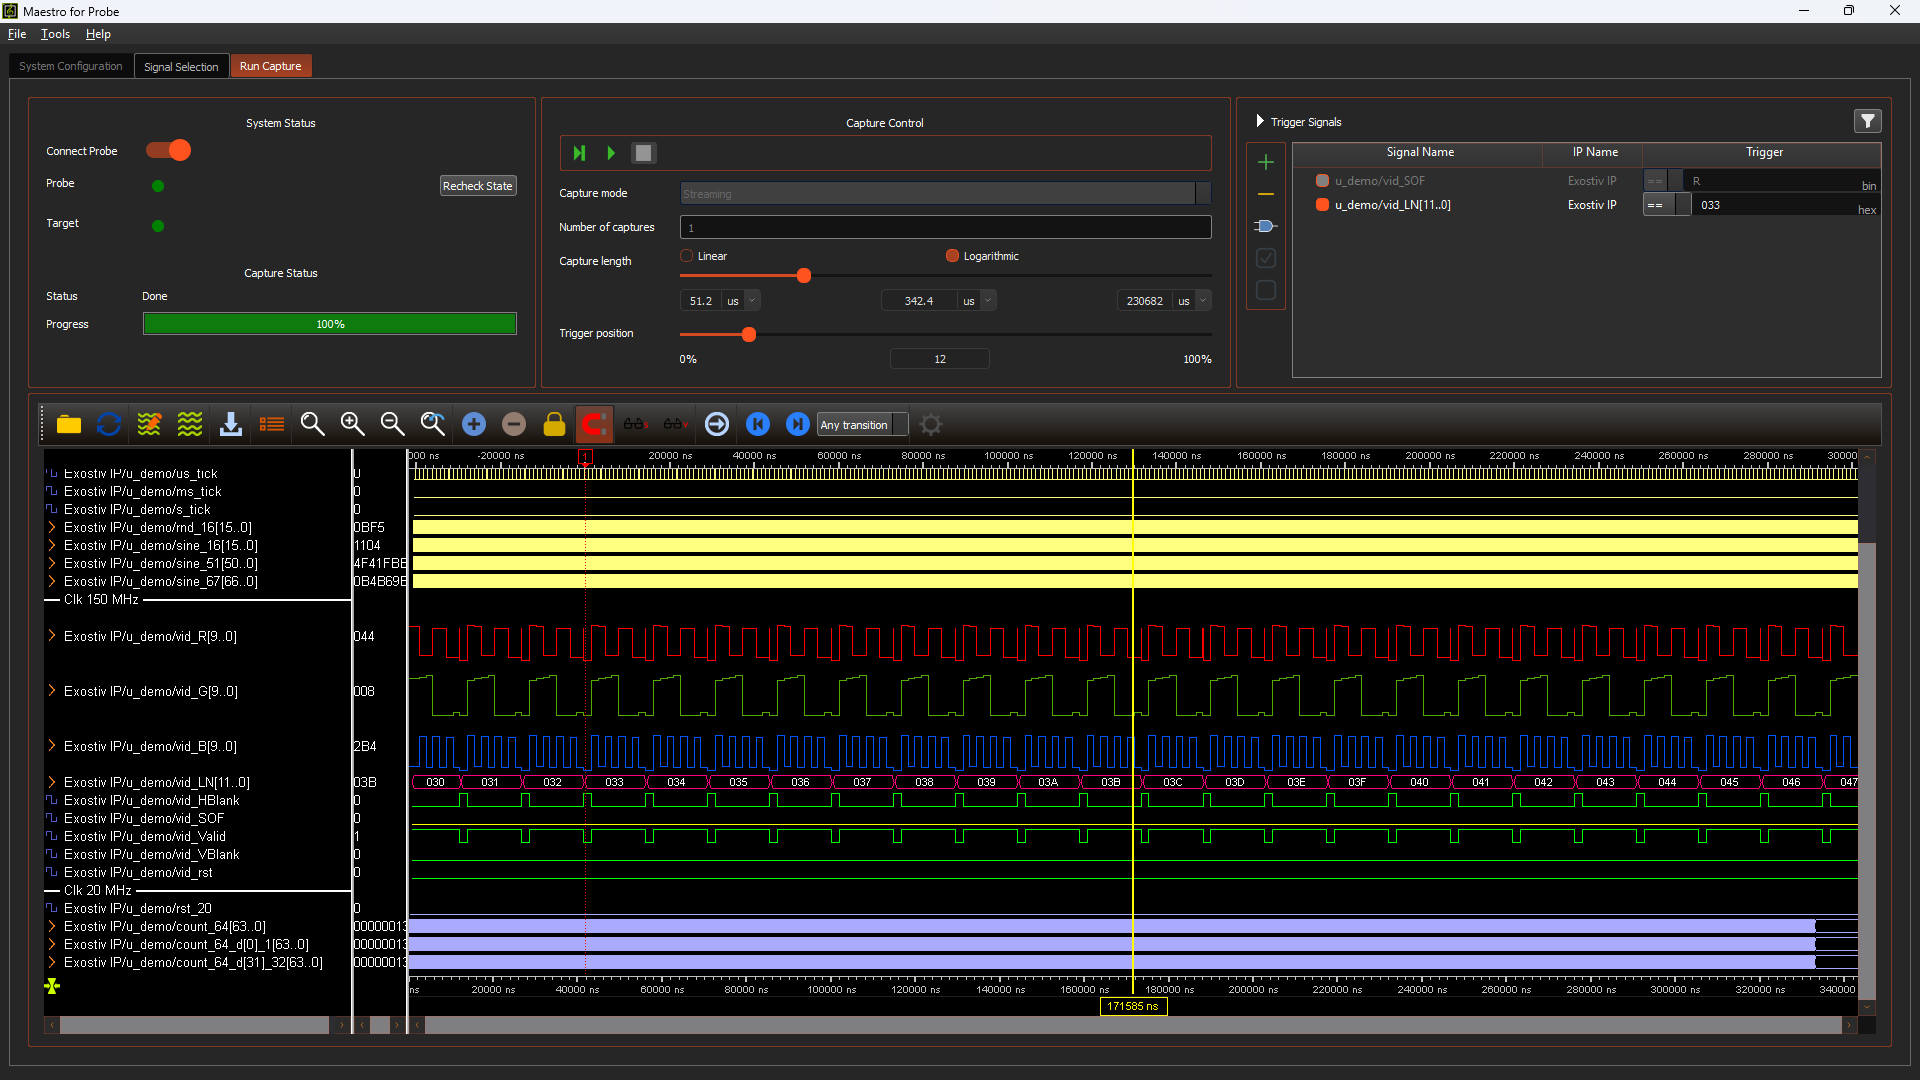
The capture controls area has two sliders:
- Capture length: sets the total length of the capture, in time units. Select the time unit in the drop-down list. The scale can be linear or logarithmic; the logarithmic scale is useful for short captures.
- Trigger position: sets the position of the trigger within the capture, as a percentage of the capture length.
Run the capture
The capture controls area has three buttons:
- Start capture with trigger: the capture starts when the trigger condition is met;
- Start capture without trigger: the capture starts immediately;
- Stop capture: stops a capture in progress.
Analyze the results in the waveform viewer
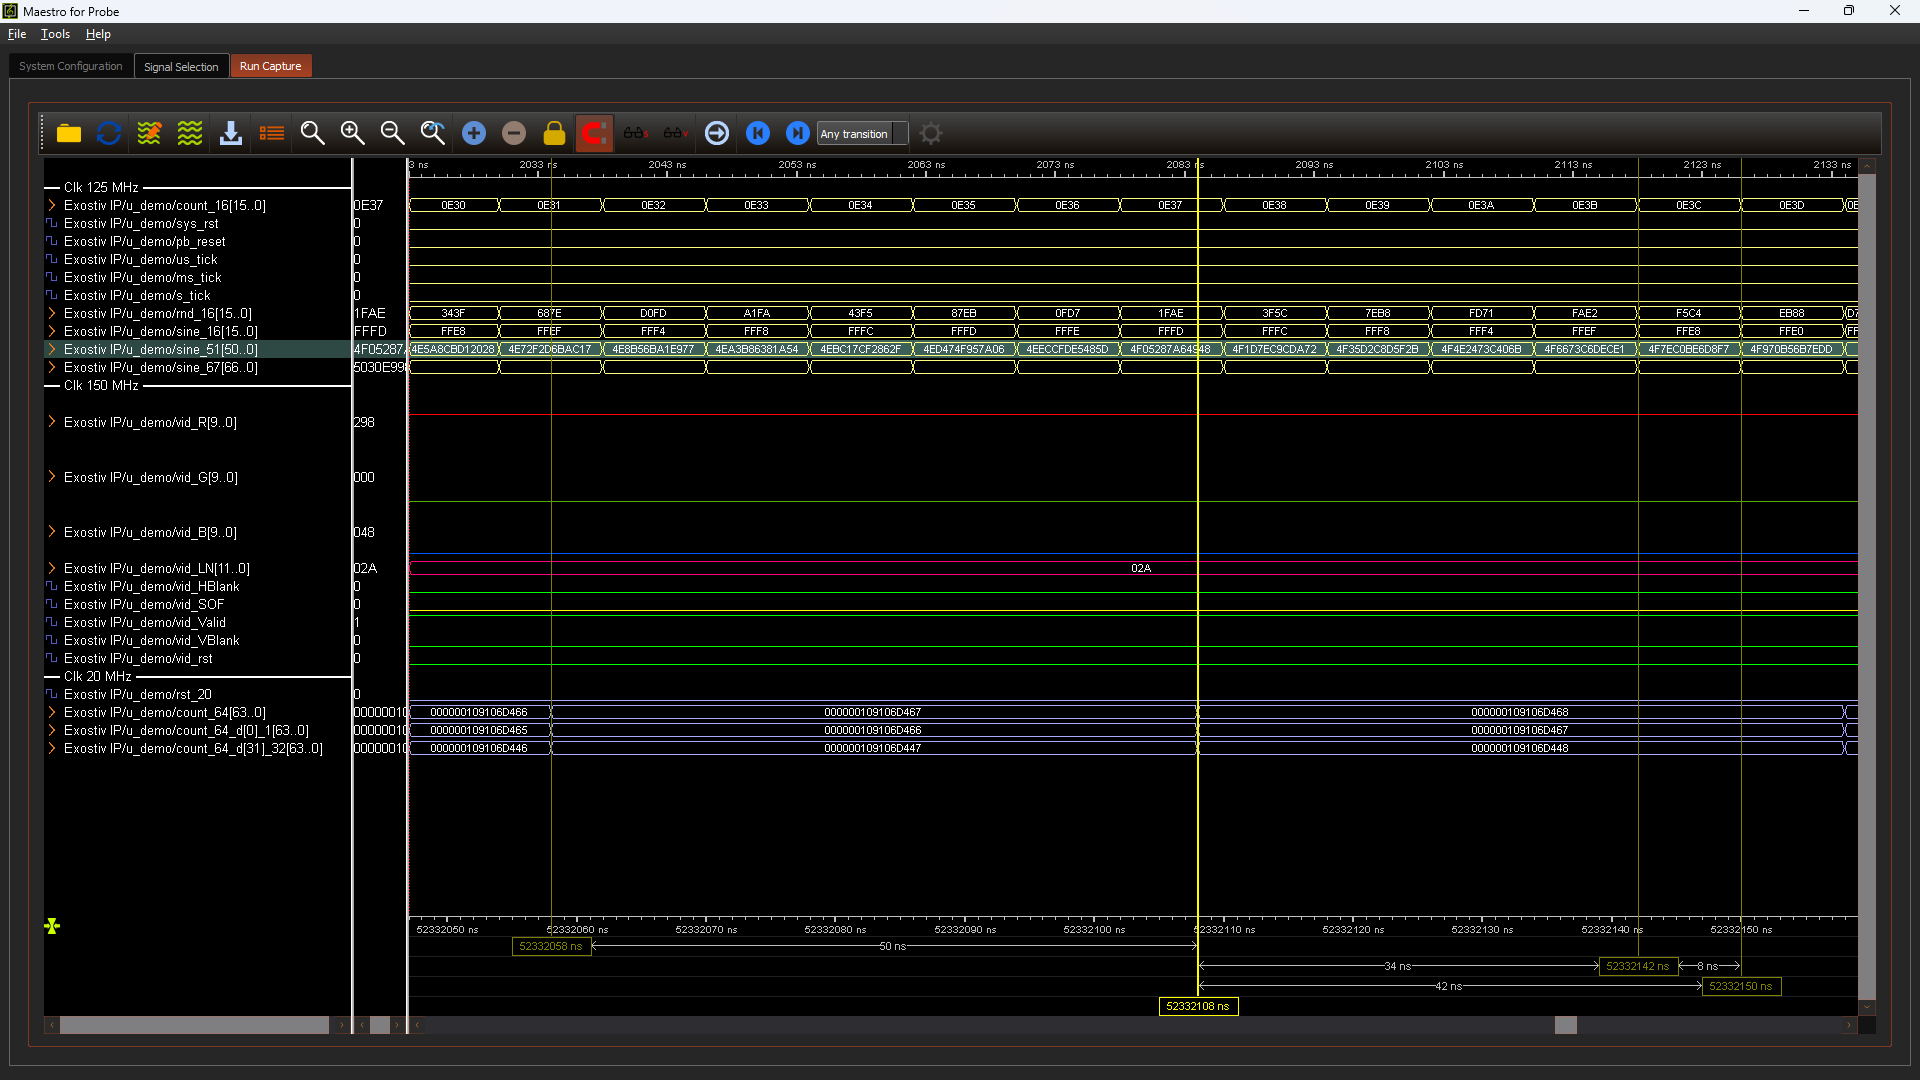
When the capture is complete, the captured data is displayed in the waveform viewer area. It can be organized, formatted and analyzed from there.